 Save
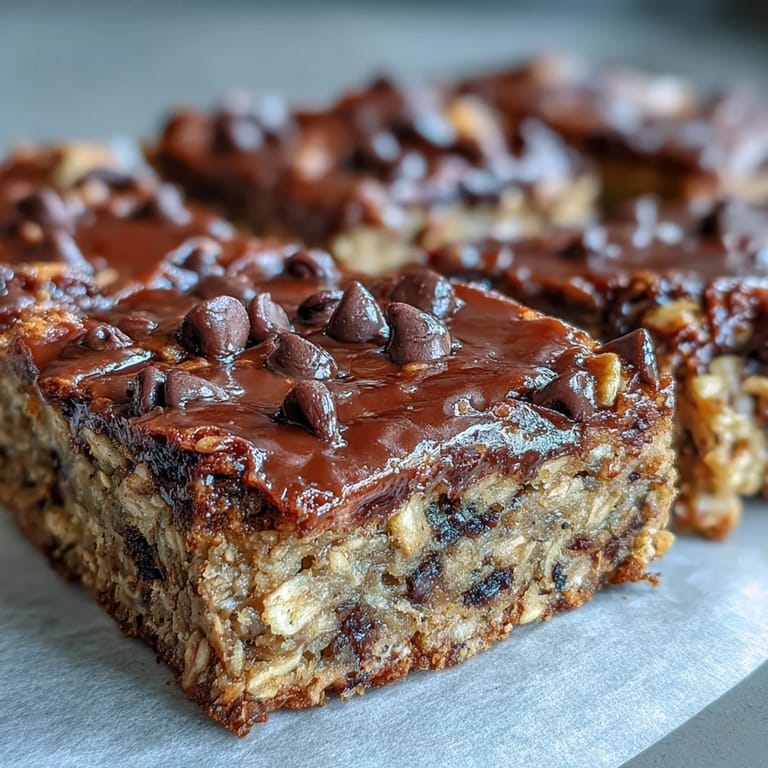
Save Last winter during that week where everything felt gray and endless, I found three overripe bananas staring back from the counter. Too tired for anything elaborate, I threw them into a bowl with oats and whatever else I could grab. The smell that filled my kitchen was pure comfort—like being wrapped in a warm blanket on a cold morning.
My sister called me mid-bake that first time, suspicious about the lack of flour and butter. When I pulled them from the oven, she took that first tentative bite and her eyes widened. Now she texts me every Sunday asking if I have a batch ready, and I have started doubling the recipe just to keep up.
Ingredients
- 2 cups rolled oats: Old-fashioned oats give the best texture here, holding onto moisture while staying slightly chewy
- 1/2 tsp salt: Enhances the natural sweetness and keeps flavors from tasting flat
- 1 1/3 cups mashed ripe banana: About three medium bananas with plenty of brown spots—they should mash easily with a fork
- 6 tbsp water: Creates steam in the oven for that soft, tender texture we love
- 3 tbsp pure maple syrup: Use honey, agave, or your preferred sweetener adjusting to taste
- 3 tbsp oil or nut butter: Coconut oil adds subtle richness while nut butter brings protein and depth
- 1 tsp pure vanilla extract: Pure vanilla makes everything taste like a treat worth savoring
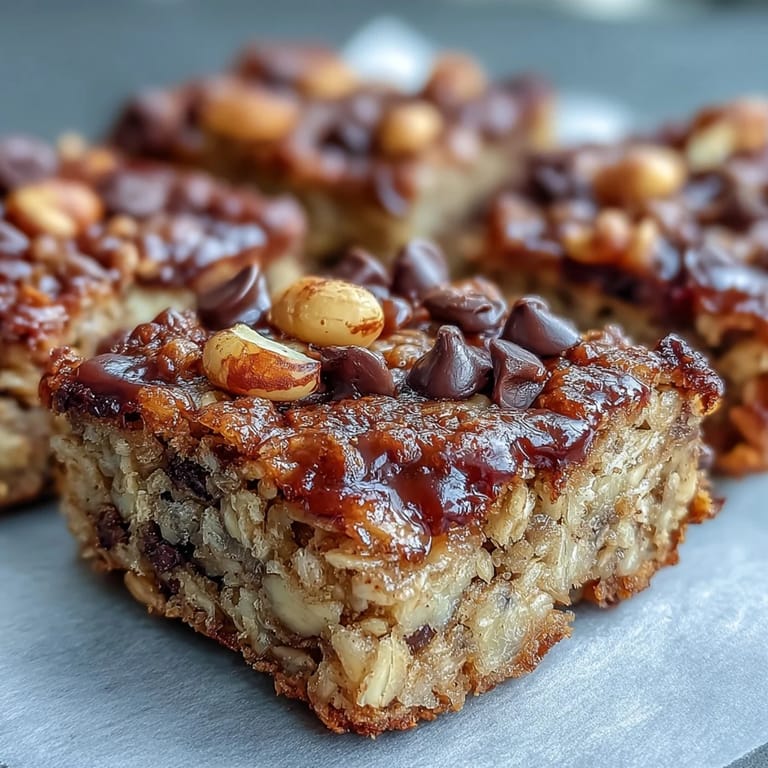
- Optional mix-ins: Chocolate chips, chopped nuts, dried fruit, or seeds up to 1/3 cup total
Tired of Takeout? 🥡
Get 10 meals you can make faster than delivery arrives. Seriously.
One email. No spam. Unsubscribe anytime.
Instructions
- Preheat and prepare your pan:
- Heat your oven to 350°F and line an 8-inch square baking pan with parchment paper, letting the edges hang over for easy removal later.
- Mix the dry base:
- In a large bowl, combine the rolled oats and salt, stirring briefly to distribute everything evenly.
- Add the wet ingredients:
- Pour in the mashed banana, water, sweetener, oil or nut butter, and vanilla. Stir until everything is thoroughly combined and the oats are evenly coated.
- Fold in your favorites:
- Gently fold in whatever mix-ins speak to you today, being careful not to overmix which can make the bars tough.
- Spread and bake:
- Transfer the mixture to your prepared pan and smooth the top with a spatula. Bake for exactly 20 minutes, then turn off the oven without opening the door.
- Let them set:
- Leave the bars inside the closed oven for 5 additional minutes. This resting period helps them firm up perfectly without drying out.
- Cool completely:
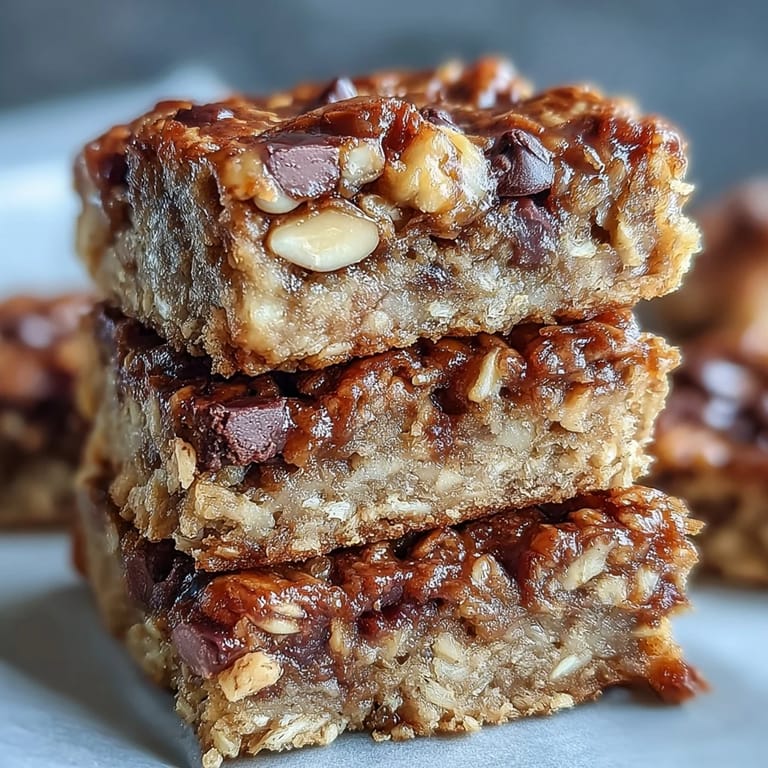
- Remove from the oven and let cool completely in the pan before slicing into 6 to 9 bars.
 Save
Save These became my go-to when my daughter started kindergarten and mornings turned into a sprint. One day she grabbed one on her way out, came home beaming, and said her teacher asked for the recipe. Now we make them together every Sunday, a small ritual that somehow makes Monday feel less daunting.
Making Them Your Own
The beauty of these bars lies in their flexibility. I have swapped bananas for applesauce in fall and pumpkin purée when November hits. Each variation brings its own personality while keeping that comforting chewy texture we love.
Storage Solutions
Keep them in the refrigerator for up to four days, though in my house they rarely last past day two. For longer storage, wrap individual bars in parchment and freeze them for up to three months. They thaw beautifully overnight in the fridge or can be microwaved for 30 seconds straight from frozen.
Serving Suggestions
Warm from the oven with melting chocolate is my favorite way to serve them. My husband spreads his with peanut butter while my daughter prefers hers crumbled over yogurt. They are equally satisfying cold, making them perfect for packing in lunchboxes.
- Try a drizzle of almond butter on top for extra protein
- Crumble over oatmeal or Greek yogurt for a breakfast bowl
- Serve with fresh berries and a dollop of coconut whipped cream
 Save
Save There is something deeply satisfying about turning spotted bananas and pantry staples into something that feels like a treat. These bars have saved more rushed mornings than I can count.
Recipe Guide
- → Can I make these bars without banana?
Yes, you can substitute unsweetened applesauce or pumpkin purée in equal amounts for the mashed banana. Both alternatives maintain moisture and binding properties while creating slightly different flavor profiles.
- → How do I store these oatmeal bars?
Store cooled bars in an airtight container in the refrigerator for up to 4 days. For longer storage, wrap individually and freeze for up to 3 months. Thaw overnight in the refrigerator or warm briefly in the microwave.
- → What makes these bars chewy versus crispy?
The mashed banana creates natural softness and chewiness. Using oil instead of additional water yields a more tender texture. The final 5-minute resting period in the turned-off oven helps set the bars while maintaining their soft, chewy consistency.
- → Can I add protein powder to these bars?
Absolutely. Add one scoop of protein powder to the wet ingredients and reduce the rolled oats by approximately 1/4 cup to maintain proper consistency. Vanilla or unflavored protein powder works best without altering the classic flavor.
- → Are these suitable for meal prep?
These bars are excellent for meal prep. Make a double batch on Sunday, slice, and store in the refrigerator or freezer. They're perfect for grab-and-go breakfasts throughout the week and can be enjoyed cold or briefly warmed.
- → What mix-ins work best?
Chocolate chips, chopped walnuts, pecans, almonds, dried cranberries, raisins, or sunflower seeds all complement the banana base beautifully. Feel free to combine multiple mix-ins for added texture and flavor variety.