 Save
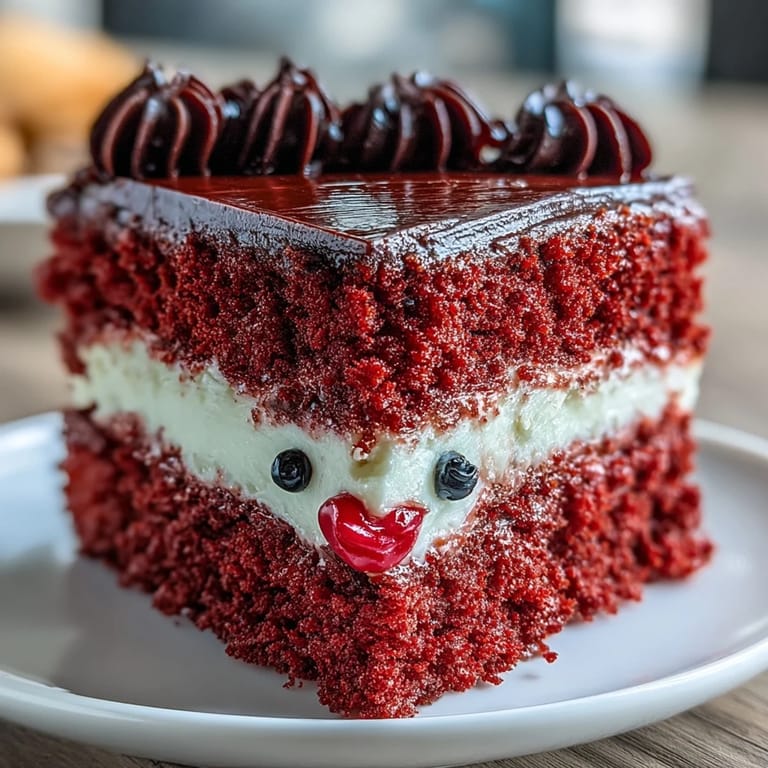
Save My daughter begged for a Betty Boop birthday cake that year, and I stared at reference images until my eyes crossed. The cartoon character seemed simple enough until I realized translating those夸张 expressive features into cake form would require some serious problem-solving. That first attempt had hair that kept sliding off the buttercream, eyes that looked perpetually surprised rather than flirtatious, and a red bow that drooped like a wilted flower. Three tries later, I finally found the rhythm of letting the crumb coat set firm before applying fondant, and suddenly this playful retro diva came to life on the cake stand.
I made this for my friend Sarahs thirtieth birthday, mostly because she had a vintage Betty Boop poster in her college apartment that became this whole inside joke. Her boyfriend called me the morning of the party whispering that she was having a terrible week and really needed something ridiculous and joyful. When I carried that cake in, black hair perfectly curled and white eyes sparkling with pearl dust, she actually squealed. We spent twenty minutes taking photos with it before anyone would let me cut a slice.
Ingredients
- 2 cups all-purpose flour: The backbone of your cake layers, providing structure for that tender red velvet crumb
- 1 ½ cups granulated sugar: Sweetens the batter while creating a fine, delicate texture in the baked layers
- 2 teaspoons baking powder: Ensures your cakes rise evenly without developing tunnels or dense spots
- ½ teaspoon salt: Balances sweetness and intensifies the vanilla flavor throughout each bite
- ½ cup unsalted butter: Room temperature butter incorporates beautifully for a velvety, moist cake that never feels greasy
- 2 large eggs: Essential for structure and richness, bringing everything together into a cohesive batter
- ¾ cup whole milk: Creates a tender crumb while adding subtle dairy sweetness to complement the vanilla
- 2 teaspoons vanilla extract: Pure vanilla gives the classic red velvet flavor its warm, aromatic backbone
- 1 tablespoon red gel food coloring: Gel coloring delivers that signature deep red hue without thinning your batter
- 8 ounces cream cheese: The tangy, creamy base for the buttercream that cuts through the cake sweetness
- ½ cup unsalted butter: Whipped into the cream cheese for a stable, spreadable frosting that holds its shape
- 4 cups powdered sugar: Sweetens and stabilizes the buttercream while creating that silky smooth finish
- 8 ounces black fondant: Covers the cake front for Bettys iconic hairstyle and creates that dramatic cartoon silhouette
- 4 ounces white fondant: Forms those exaggerated expressive eyes that make the character instantly recognizable
- 2 ounces red fondant: Shapes the perfect cupid bow lips and optional headband for authentic Betty Boop flair
Tired of Takeout? 🥡
Get 10 meals you can make faster than delivery arrives. Seriously.
One email. No spam. Unsubscribe anytime.
Instructions
- Prepare your cake pans:
- Preheat oven to 350°F and grease two 8-inch round pans, lining bottoms with parchment for easy release
- Whisk the dry ingredients:
- Combine flour, baking powder, and salt in a medium bowl, ensuring everything is evenly distributed
- Cream butter and sugar:
- Beat butter and sugar on medium speed for about 3 minutes until the mixture turns pale and fluffy
- Add eggs and vanilla:
- Add eggs one at a time, beating thoroughly after each, then stir in the vanilla extract
- Combine wet and dry ingredients:
- Alternately add flour mixture and milk in three additions, starting and ending with flour
- Color the batter:
- Mix in red gel food coloring until the batter reaches a uniform deep red shade
- Bake the layers:
- Divide batter evenly between pans and bake for 25 to 30 minutes, rotating halfway through
- Cool completely:
- Let cakes rest in pans for 10 minutes before turning onto wire racks to cool fully
- Make the buttercream:
- Beat cream cheese and butter until smooth, then gradually add powdered sugar until fluffy
- Assemble the cake:
- Trim domes level, stack layers with buttercream, then apply a crumb coat and chill for 20 minutes
- Apply final coat:
- Spread a smooth layer of buttercream over the entire cake using a scraper for even sides
- Create the fondant pieces:
- Roll black fondant and cut the hair silhouette, then form white eyes and red lips from remaining fondant
- Decorate the cake:
- Gently position the hair, eyes, and lips on the chilled cake, securing with dabs of buttercream
- Add final touches:
- Create eyelashes from black fondant and add any decorative elements like a red headband or sparkles
- Rest before serving:
- Let the completed cake rest at room temperature for 30 minutes to allow flavors to meld
 Save
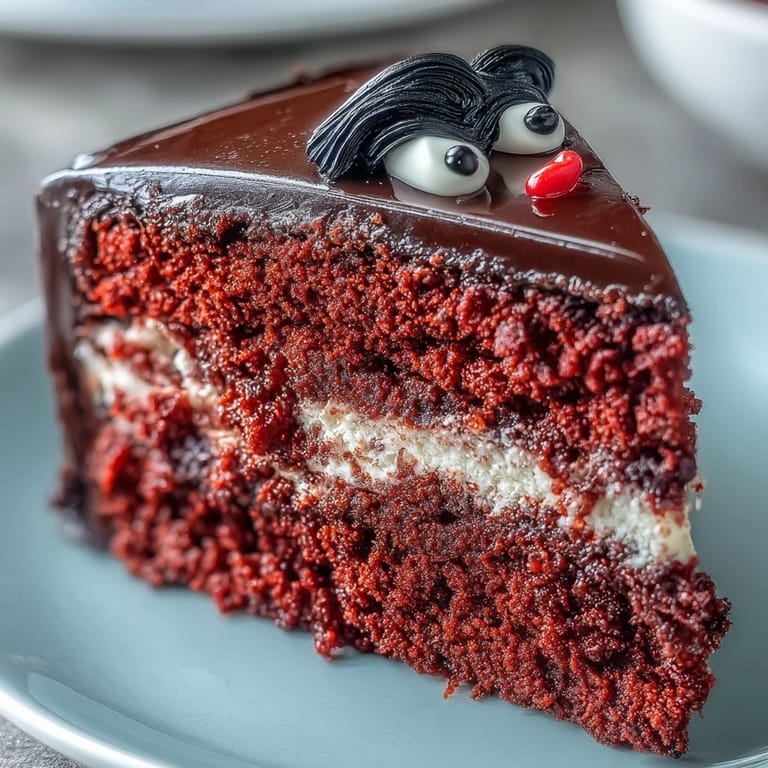
Save Something magical happens when people gather around a cake that looks this playful. Even the most serious dinner guests end up grinning at Betty Boops exaggerated wink, and suddenly everyone has a story about watching old cartoons or remembering a grandmother who collected memorabilia. Food becomes storytelling, and this cake always starts the best conversations.
Working With Fondant
Fondant can feel intimidating if you have never worked with it before, but the secret is keeping it moving on a cornstarch-dusted surface. If it starts feeling sticky or tearing, give it a light dusting and let it rest for a few minutes. The warmth from your hands softens fondant quickly, so work in small batches and keep what you are not using wrapped tightly.
Getting That Red Velvet Color
True red velvet gets its name from that distinctive reddish crumb, and achieving it with gel coloring requires patience. Add the coloring a little at a time, letting it fully incorporate before adding more, until you reach that deep jewel tone. The color will bake slightly lighter than it appears in the bowl, so err on the side of dramatic.
Make Ahead Strategy
This cake has multiple components, but you can spread the work over two days for a stress-free experience. Bake and cool the cake layers, wrap them tightly in plastic, and keep at room temperature overnight. The buttercream can be made ahead and refrigerated, then brought to room temperature and rewhipped before using. Fondant pieces can be cut and stored between parchment paper in an airtight container.
- Prepare fondant decorations up to 24 hours in advance
- Stack and frost the cake the morning of your event
- Apply final decorations just before serving for the freshest appearance
 Save
Save There is something deeply satisfying about serving a cake that makes people laugh before they even take a bite. Enjoy every moment of the reaction.
Recipe Guide
- → What gives the cake its vibrant red color and velvety texture?
The vibrant hue comes from red gel food coloring mixed into the batter, ensuring a deep, consistent red. The velvety texture is achieved through a precise balance of ingredients like all-purpose flour, butter, eggs, and milk, often enhanced by a touch of acidity from ingredients such as buttermilk or, as an alternative mentioned in the notes, cocoa powder and white vinegar.
- → Can I prepare the fondant decorations in advance?
Yes, the fondant decorations can be made a day ahead. Simply roll and cut out the shapes for Betty Boop's hair, eyes, and lips, then store them in an airtight container at room temperature. This allows the fondant to firm up slightly, making them easier to handle and apply to the cake.
- → What are some alternative frosting options if I don't prefer cream cheese buttercream?
While cream cheese buttercream offers a delightful tangy contrast, you could substitute it with a Swiss meringue buttercream for a lighter, silkier finish. For a less sweet option, a simple whipped ganache could also work beautifully, though it might change the overall flavor profile.
- → How can I ensure my cake layers are level for stacking?
To achieve level layers, ensure your oven bakes evenly and avoid overmixing the batter. Once baked and cooled, use a serrated knife to carefully trim any domes off the top of the cake layers. Chilling the trimmed layers briefly can also make them easier to handle before frosting.
- → What's the best way to apply the black fondant hair without tearing it?
When applying the black fondant hair, dust your work surface and rolling pin with cornstarch to prevent sticking. Roll the fondant to an even 1/8-inch thickness, and use a template for the silhouette. Transfer it carefully, perhaps by rolling it onto your rolling pin or using a large offset spatula, then gently drape it over the chilled, firm crumb-coated cake, smoothing it from the center outwards.
- → Are there any specific serving suggestions to enhance this cake?
To complement its rich flavor and playful appearance, consider serving slices with fresh berries, such as raspberries or strawberries, or a dollop of freshly whipped cream. These additions provide a refreshing contrast and elevate the presentation.