 Save
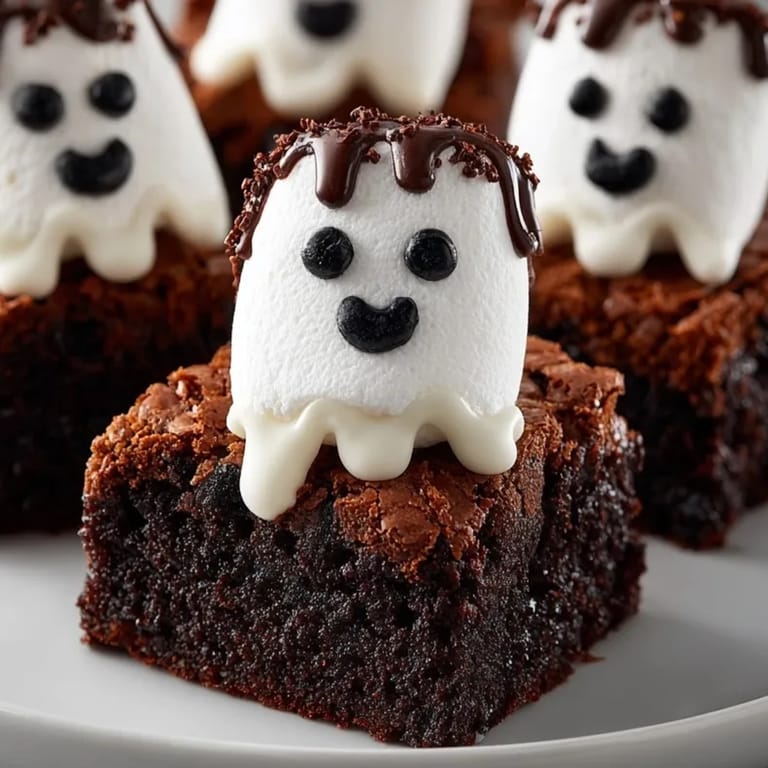
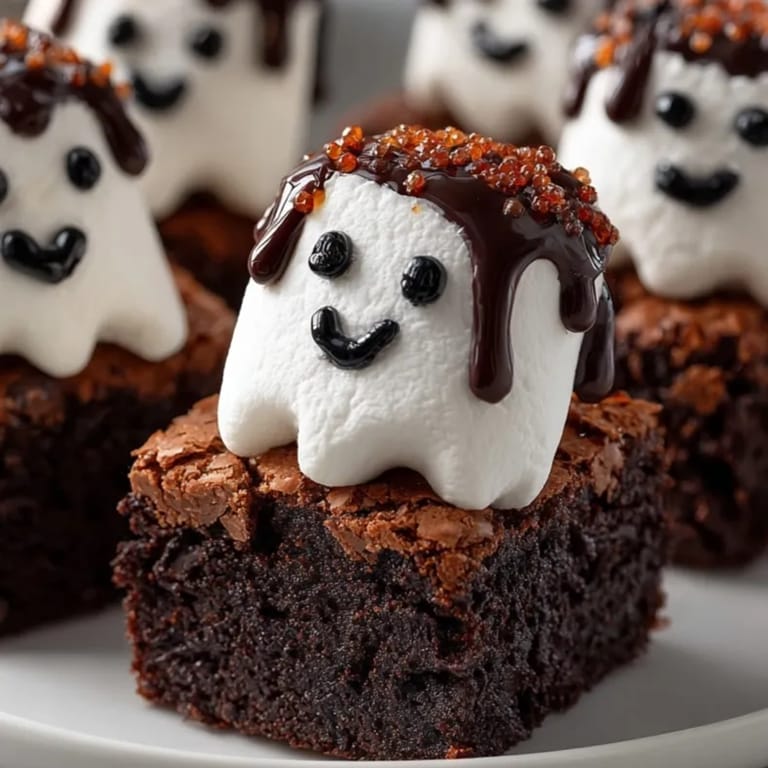
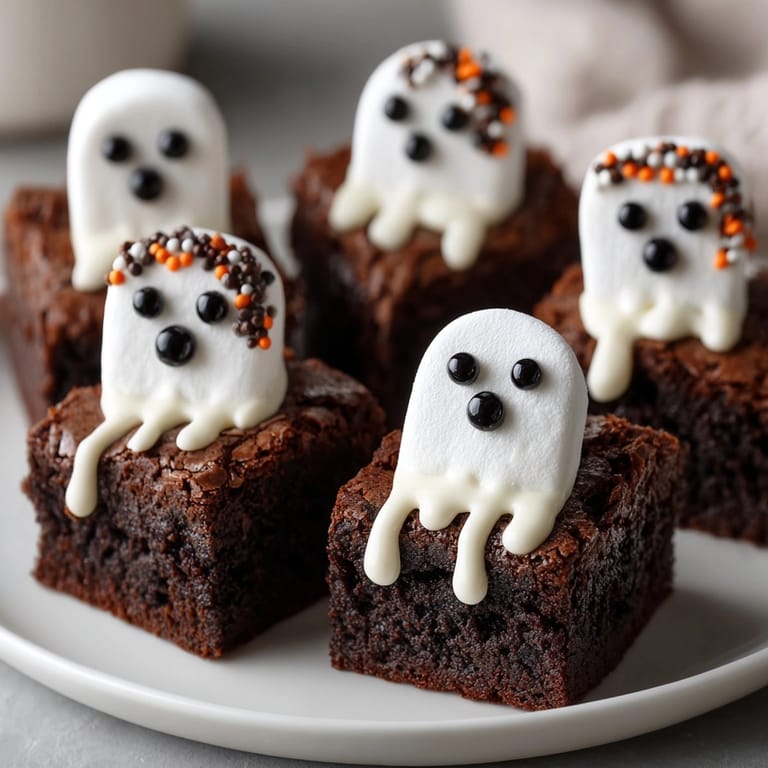
Save These Marshmallow Ghost Brownies bring together the dense, chocolatey goodness of homemade brownies with playful marshmallow ghosts for a treat that always sparks smiles. Whether you need an easy Halloween dessert for a party or want to surprise the kids with a creative weekend bake, this recipe is as fun to make as it is to eat.
I started making these ghost brownies for my daughter’s class Halloween party and now they are non-negotiable every October. Decorating the ghosts became our favorite new tradition and the kids were so proud to show off their spooky creations.
Ingredients
- Unsalted butter: melted for a decadent and moist brownie crumb. Choose high-quality butter for the best flavor
- Granulated sugar: balances the bittersweet cocoa and helps achieve a crackly top. Extra fine sugar melts quickly and blends best
- Large eggs: bind the batter and give richness. Always use fresh eggs for fluffier brownies
- Vanilla extract: enhances both chocolate and marshmallow flavors. Pure vanilla brings a warmer undertone
- Unsweetened cocoa powder: brings deep chocolate flavor without too much sweetness. Dutch process yields a darker color if preferred
- All-purpose flour: provides structure. Sift for even mixing and a tender crumb
- Salt: brightens all the flavors. Kosher salt is my go-to for its subtlety
- Baking powder: gives lift and makes for a slightly cakier texture
- Large marshmallows: create each ghost’s body
- White chocolate chips or melting wafers: for that signature ghostly drape. Opt for high-quality chocolate for a smooth finish
- Black decorating gel or melted dark chocolate: turns each ghost unique with eyes and mouths. Pick one with easy squeeze or piping control
Tired of Takeout? 🥡
Get 10 meals you can make faster than delivery arrives. Seriously.
One email. No spam. Unsubscribe anytime.
Instructions
- Prepare the Pan:
- Line an eight inch square baking pan with parchment paper making sure to leave an overhang for easy removal. Lightly grease the paper to prevent sticking
- Make the Brownie Batter:
- Whisk together the melted butter and granulated sugar in a mixing bowl until glossy and blended. Add eggs and vanilla extract whisking until the mixture is light and homogenous
- Combine Dry Ingredients:
- Sift in cocoa powder flour salt and baking powder right over the wet mixture. Use a spatula to gently fold everything together until you no longer see streaks of flour. Do not overmix or the brownies can turn tough
- Bake:
- Pour the batter evenly into the prepared pan and smooth the top with your spatula. Place in a preheated three hundred fifty degree oven and bake for twenty five to thirty minutes. Check with a toothpick in the center—it should come out with a few moist crumbs but no raw batter
- Cool and Slice:
- Let the brownies cool completely in the pan. Once cool use the parchment to lift them out and cut into sixteen neat squares
- Add Marshmallows:
- Set one large marshmallow in the center of each brownie square pressing gently so it stays in place
- Melt and Drizzle the White Chocolate:
- Place white chocolate chips or melting wafers in a microwave safe bowl. Heat in twenty second intervals stirring well in between until completely smooth and pourable
- Create the Ghosts:
- Working one at a time spoon or pipe the melted white chocolate over each marshmallow letting it naturally drip down to form a ghost sheet. Be generous for that classic spooky shape
- Make the Faces:
- While the white chocolate is still soft use a small piping bag or toothpick to dot on eyes and a mouth with black decorating gel or melted dark chocolate. Each ghost will have its own personality
- Set and Serve:
- Allow the decorated brownies to sit at room temperature or in the fridge until the white chocolate sets before serving. This makes them easy to transport and less messy for little hands
 Save
Save Every year my daughter begs to be the official ghost decorator. One Halloween we ended up with more monster faces than ghosts and it was the hit of the entire party. The marshmallows always make it festive but the homemade brownie base is what the adults go back for.
Storage Tips
Once decorated these brownies keep best at room temperature in an airtight container for up to three days. If you need them longer place in the refrigerator in a single layer to make sure the white chocolate holds its shape. Avoid stacking until the chocolate is firm to prevent faces from smudging. For best texture bring back to room temperature before eating
Ingredient Substitutions
You can substitute gluten-free all-purpose flour in equal measure for a gluten-free version that is just as fudgy. To make a dairy-free version use a plant-based margarine for the batter and dairy-free white chocolate. Out of white chocolate try using vanilla candy melts for easy draping
Serving Suggestions
Serve these ghost brownies on festive platters alongside bowls of candy corn and fruit for a more balanced Halloween treat table. They also make great favors when wrapped individually in clear bags tied with orange ribbon. These brownies are just as fun for birthday parties or a rainy day baking project
Cultural and Historical Context
Brownies have been beloved in America for over a century and decorating them for holidays is a tradition that brings families together. The ghost motif is a playful nod to the season and helps little ones embrace the fun side of spooky season. With simple decorations these treats bridge old-fashioned baking with modern festive flair
Seasonal Adaptations
Use colored candy melts for playful ghosts in spring or winter. Swap marshmallow ghosts for pumpkin candies after Halloween. Add orange zest to the batter for a subtle citrus note
Success Stories
On a chilly October night I brought a batch of these ghost brownies to a neighborhood potluck and even the adults hovered by the brownie tray. The marshmallow ghosts disappeared fast and several neighbors asked for the recipe. When you let kids decorate everyone feels involved and proud to share their unique spooky creations
Freezer Meal Conversion
To freeze these brownies bake and cool completely but wait to add the marshmallow and chocolate topping. Freeze cut brownies layered between parchment in an airtight container for up to two months. Thaw and decorate as needed for instant Halloween treats with no mess
 Save
Save When you let the kids take the reins, you get brownies brimming with homemade spirit and lots of ghostly fun.
Recipe Guide
- → Can I use boxed brownie mix for the base?
Yes, boxed brownie mix can be substituted to save time. Simply follow package instructions, then proceed with the ghost topping.
- → Are these brownies suitable for vegetarians?
Yes, the brownies are vegetarian as they do not contain meat or gelatin. Confirm marshmallow ingredients to ensure suitability.
- → How do I decorate the marshmallow ghosts?
Melt white chocolate and drizzle over each marshmallow, then use decorating gel or melted dark chocolate for eyes and mouths.
- → Can the brownies be made gluten-free?
Yes, replace all-purpose flour with a gluten-free blend for a gluten-free version. Always check individual ingredient labels.
- → What pan size should I use?
An 8x8-inch (20x20 cm) baking pan delivers best results, yielding 16 brownies of ideal thickness and texture.
- → How long do the brownies keep?
Brownies can be stored in an airtight container at room temperature for about 3 days or refrigerated for up to a week.