 Save
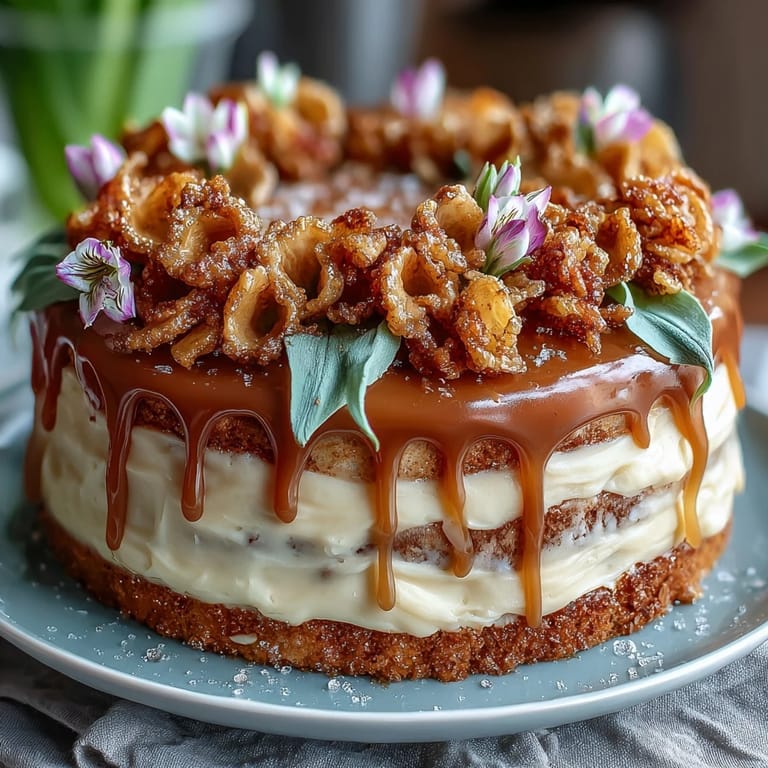
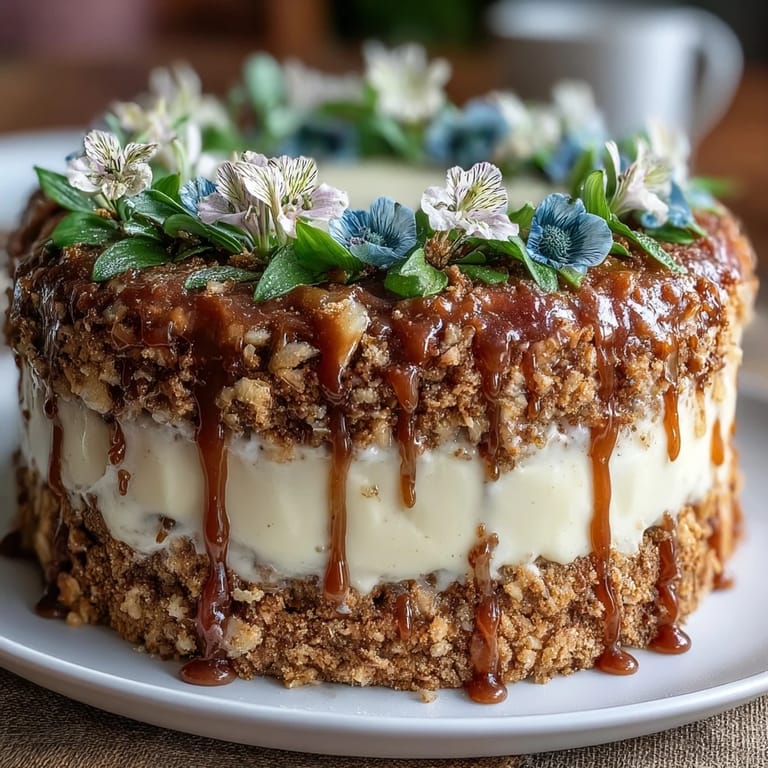
Save The night before my cousin's graduation, I found myself standing in my kitchen at midnight, staring at three empty cake pans and wondering if I'd bitten off more than I could chew. She'd casually mentioned wanting something elegant for her celebration dinner, and suddenly I was committed to creating a cake that felt as momentous as her achievement. That's when I discovered Swiss meringue buttercream—silky, stable, and forgiving enough for a first-timer to layer it without disaster. The real magic happened when I brushed on the gold leaf the next morning, watching it catch the sunlight streaming through the window and thinking, this is how you make a moment feel truly special.
I'll never forget watching my cousin's face when she saw the cake—the way she went quiet for a moment before breaking into the biggest smile. Her friends started taking photos immediately, and suddenly this dessert wasn't just something I'd made; it was part of the story of her graduation day. That's when I realized elegant doesn't have to mean complicated.
Ingredients
- All-purpose flour (2 1/2 cups): Room-temperature ingredients matter here, but don't stress about sifting unless you really want to—I've skipped it plenty of times.
- Baking powder (2 1/2 tsp): Check your baking powder's age; old powder won't give you the lift you need, and that's the difference between a tender cake and a dense one.
- Unsalted butter (1 cup for cake, 1 1/2 cups for buttercream): This really does need to be softened—cold butter won't cream properly, and you'll end up with a lumpy mess.
- Granulated sugar (2 cups for cake, 1 1/4 cups for buttercream): The sugar amount in the buttercream is precise; too much and it becomes grainy, too little and it won't stabilize properly.
- Large eggs (4 for cake, 5 for buttercream): Room temperature makes a genuine difference in how well they incorporate; cold eggs from the fridge can curdle your batter.
- Vanilla extract (1 tbsp for cake, 2 tsp for buttercream): Use real vanilla if possible—imitation can taste thin when paired with such delicate decorations.
- Whole milk (1 cup): This keeps the cake moist without making it heavy, a balance I've learned through trial and error.
- Edible egg whites (5 large): Pasteurized eggs work here if you're nervous about raw eggs in the meringue.
- Edible gold leaf sheets: These are fragile and expensive, so order them ahead and store them flat in a dry place.
- Assorted edible flowers: Pansies, violets, and roses work beautifully, but verify they're grown without pesticides—this isn't where you want to guess.
Tired of Takeout? 🥡
Get 10 meals you can make faster than delivery arrives. Seriously.
One email. No spam. Unsubscribe anytime.
Instructions
- Prepare your pans and preheat:
- Get your oven to 350°F and grease those three 8-inch pans thoroughly, then line them with parchment—it sounds fussy, but it's the only thing standing between you and cake stuck to the pan. I learned this the hard way, so trust me.
- Mix your dry ingredients:
- Whisk flour, baking powder, and salt together in a bowl and set it aside; this helps distribute the baking powder evenly so you get consistent rise across all three layers.
- Cream butter and sugar:
- Beat them together for about 3 minutes until it looks light, pale, and fluffy—you're literally incorporating air into the mixture, which gives the cake its tender crumb. Stop and scrape down the bowl halfway through because butter likes to hide along the sides.
- Add eggs gradually:
- Drop in one egg at a time, beating well after each one before adding the next; this prevents the batter from looking curdled and greasy. If it does curdle slightly, don't panic—a splash of flour mixture will bring it back together.
- Alternate wet and dry ingredients:
- Start with flour mixture, then milk, then flour again, mixing just until combined each time—overmixing develops gluten, which makes the cake tough instead of tender. The batter might look slightly lumpy at the end, and that's perfect.
- Distribute batter evenly:
- Divide the batter among your three pans and smooth the tops; uneven distribution means uneven baking, so take a moment here.
- Bake until golden:
- Bake for 28–32 minutes until a toothpick inserted in the center comes out clean—every oven runs differently, so start checking at the 25-minute mark. The cakes should smell sweet and vanilla-forward, and the tops should spring back when you touch them lightly.
- Cool gradually:
- Let cakes rest in their pans for 10 minutes before turning them out onto wire racks; turning them out too early breaks them, waiting too long makes them stick. Be gentle—they're still delicate.
- Make the meringue base:
- Combine egg whites and sugar in a heatproof bowl over simmering water (not touching the water) and whisk constantly until the mixture reaches 160°F and the sugar dissolves completely, about 5 minutes. You'll feel the graininess disappear as you whisk.
- Whip until fluffy:
- Transfer the warm mixture to a stand mixer and beat on high speed until stiff peaks form and the bowl is cool to the touch, about 8–10 minutes; this is where the magic happens, and patience matters. The mixture transforms from glossy to mousse-like to fluffy meringue.
- Incorporate butter carefully:
- Reduce speed to medium and add butter a few cubes at a time, mixing until smooth and fluffy—add it too fast and the buttercream breaks into greasy puddles. If this happens, don't throw it out; keep mixing and it usually comes back together.
- Finish with vanilla and salt:
- Mix in vanilla extract and a pinch of salt, which rounds out the sweetness beautifully.
- Assemble the cake:
- Place one cake layer on your serving plate, spread with buttercream, repeat with the second layer, then add the third layer on top. Don't be shy with the buttercream between layers—this is what makes the cake moist and holds it together.
- Apply crumb coat:
- Spread a thin layer of buttercream over the entire cake to seal in any crumbs, then refrigerate for 20 minutes; this step prevents crumbs from getting into your final frosting layer. It looks rough at this point, which is exactly right.
- Final frosting layer:
- Once chilled, apply a smooth, final layer of buttercream using an offset spatula—warm water dunked into your spatula and wiped clean helps smooth it out. This is where the cake starts looking polished and intentional.
- Apply gold leaf:
- Use a food-safe paintbrush to carefully apply edible gold leaf to sections of the cake—it's incredibly fragile, so gentle pressure is key. The gold catches light beautifully and instantly elevates the whole presentation.
- Arrange edible flowers:
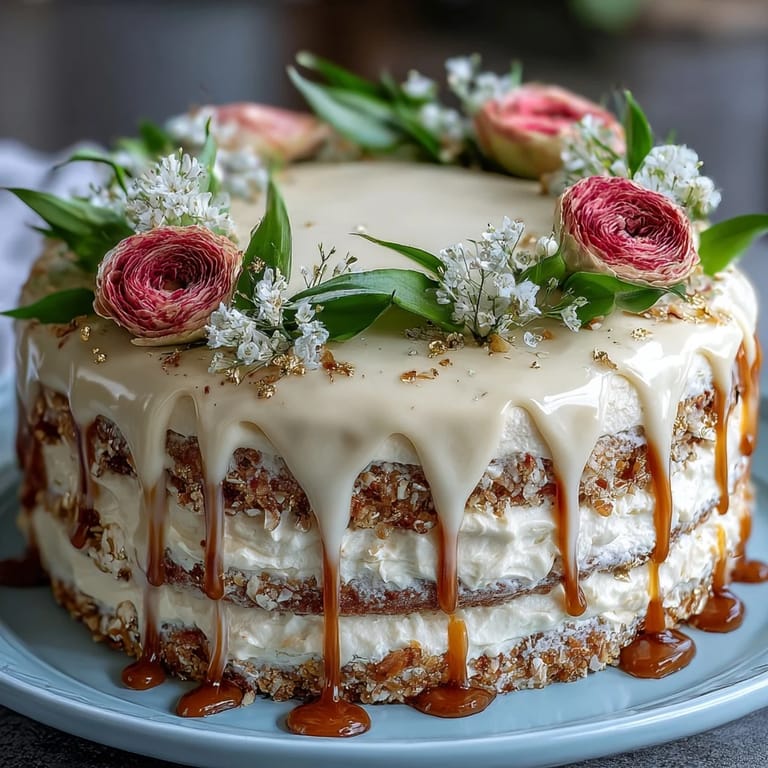
- Place your edible flowers decoratively on top and around the cake, positioning them where they look balanced; add a gold ribbon around the base if you want extra elegance. Step back and admire—you've created something beautiful.
 Save
Save There's something profound about presenting a cake that's both beautiful and delicious—it feels like you've translated someone's achievement into something tangible and celebratory. My cousin still has a photo of that cake on her apartment wall, and every time I see it, I'm reminded that the best recipes are the ones that become part of someone's memory.
Timing and Make-Ahead Strategy
I've learned that this cake actually improves when you plan ahead—baking the layers a day or two before gives them time to settle and makes them easier to level and frost. The buttercream can be made up to 3 days ahead and stored in an airtight container at room temperature, though if your kitchen is warm, refrigerate it. Assemble and decorate the cake the morning of your event, which gives you time to source fresh flowers and feel calm while placing gold leaf without rushing.
Flavor Variations and Customization
While vanilla is classic and elegant for graduations, I've played with variations depending on the person's tastes. Substitute half a cup of flour with cocoa powder for a chocolate version, or add lemon zest to the batter for brightness—the gold leaf and flowers still work beautifully with different cake flavors. The buttercream is adaptable too; I've added a tablespoon of matcha powder for an earthy undertone, or a teaspoon of almond extract for warmth.
Sourcing Quality Edible Flowers and Gold Leaf
The difference between a mediocre decorated cake and a stunning one often comes down to ingredient quality, especially with decorations. I order my edible gold leaf from specialty baking suppliers at least a week ahead because shipping can be unpredictable, and I source my flowers from farmers markets or specialty grocers where I can ask directly about growing practices. If you can't find quality edible flowers locally, many online bakers supply shops offer pre-packaged assortments specifically grown for decoration—they're worth the investment because they're guaranteed pesticide-free and stay fresher longer.
- Store gold leaf sheets flat and undisturbed in their original packaging until the moment you need them—humidity and rough handling ruin them.
- Pick edible flowers in the morning when they're most hydrated, and store them in the refrigerator on damp paper towels until you're ready to use them.
- If you can't find edible flowers, candied violets or rose petals are an elegant alternative that actually lasts longer on the cake.
 Save
Save This cake has become my go-to for celebrations because it feels special without requiring skills you don't have—just patience and attention to a few key details. Every time someone cuts into it and discovers the tender vanilla cake and silky buttercream beneath those delicate flowers and shimmer of gold, you'll remember exactly why you took the time to make it beautiful.
Recipe Guide
- → What type of flowers can I use for decoration?
Use only edible flowers free from pesticides such as pansies, violets, and roses to ensure safety and flavor harmony.
- → How do I make Swiss meringue buttercream?
Whisk egg whites and sugar over simmering water until 160°F, then beat until stiff peaks form before adding butter and flavorings.
- → Can I make a chocolate variation?
Yes, substitute half a cup of flour with cocoa powder to introduce a rich chocolate flavor while keeping other steps the same.
- → What is the best way to apply gold leaf?
Use a food-safe paintbrush to gently place delicate edible gold leaf sheets onto the buttercream surface for an elegant finish.
- → How should I store the cake after decorating?
Keep the decorated cake chilled in a covered container to maintain freshness and prevent the flowers and gold leaf from wilting or deteriorating.